We are approaching Hawaii’s rainy season, which lasts from November through March, which means now is a great time to prepare your outdoor spaces for wetter weather. Regardless of what your outdoor space resembles —a lanai, small garden, or larger backyard — creating a fresh outdoor space is a great way to take a break from being inside your home. Start by scrubbing off your outdoor furniture, cleaning any trash or debris, and weeding out the remnants of this past summer.
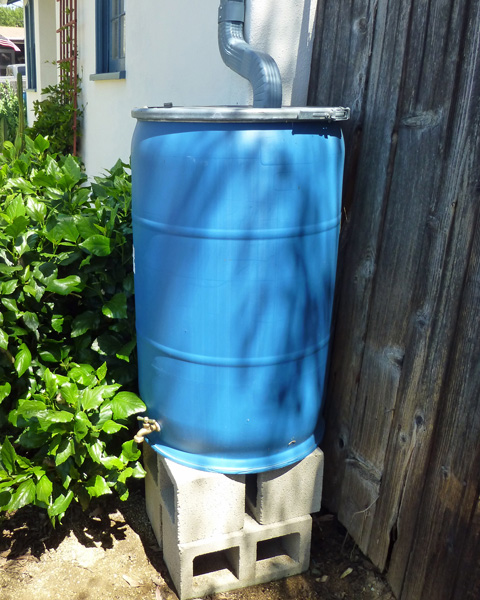
Once your space has been decluttered and cleaned, we have a great, eco-friendly way of watering flowers and yard with this DIY rain barrel project the whole family can take part in.
Here’s what you’ll need to get started:
- 1 – Plastic garbage can or a large barrel
- 1 – Garden Hose
- 1 – Hose Bib
- 1 – Utility knife
- 1 – Steel cork-backed ruler
- 1 – ¾ inch washer
- 1 – #11 rubber O-ring
- 1 – Clear silicone caulk
- 1 – Caulk gun
- 6 – Cinder blocks
- 1 – Drill with ¾ inch spade bit
- 1 – Mesh piece (12” x 12”)
- 1 – Flexible downspout extension
- 1 – Flexible wire or zip ties
Building the Rain Barrel:
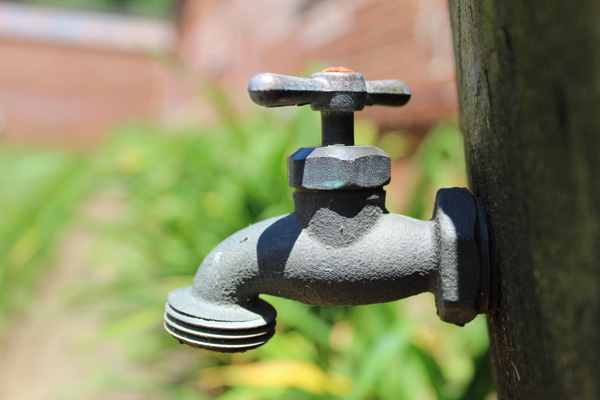
1. Install the spigot
- Using the spade bit, drill a ¾ inch hole roughly 3 inches above the barrel base. (Placing the spigot slightly above the base will help to reduce sediment buildup which can lead to clogging).
- Screw in the O-ring and washer on to the end of the spigot.
- Place a small amount of caulk under the washer – this will help keep the spigot watertight.
- Screw the spigot into the ¾ inch hole on the bottom of the can.
2. Attach a filter
- Measure the end of the flexible downspout extension and trace the dimensions on to the piece of mesh.
- Measure 3 inches out from the outline of the downspout dimensions.
- Cut out a square in the mesh.
- Securely attach the mesh square to the end of your downspout using wire or plastic zip ties if available.
- You will need to clean out debris build up in the downspout and replace the mesh every few months to prevent rust.
3. Install a downspout
- Find the end of the downspout coming from your rooftop and attach the flexible extension.
- Measure the end of the flexible downspout extension and trace the dimensions on to the lid of your barrel or can.
- Cut out a hole that is slightly smaller than the downspout extension’s outer dimensions.
- Install the downspout by placing the flexible extension end into the cut-out hole on the top of the barrel.
- Note: At this point, you can also install a mesh screen to help prevent mosquitos from making your new rain barrel their home.
4. Elevate your barrel
- Elevating your rain barrel will help to increase water pressure and make hose access easier. Using the cinder blocks, build a small step to place your barrel on.
- Using the cinderblocks, build a small step to place your barrel on.
5. Attach a garden hose as needed